
Handwriting: letters, numbers, names and sentences
Learning to write is learning many small habits at once: where to start a letter, which way the pencil moves, how tall the letter should be, and how much space to leave before the next one. A child who has played with lines and shapes already knows most of the movements. Letters are made of the same straight lines, slants and curves. This guide takes the child from handwriting lines to capital letters, lowercase letters, numbers, their own name, and finally a whole short sentence.
Neat handwriting comes slowly, and a few minutes a day helps more than one long session a week. Aim for letters that are formed the right way, not letters that look perfect.
This is a general routine, not an assessment. If writing seems very hard or painful for a child, talk to their teacher or doctor.
Before you start
- The child should be able to trace lines and simple shapes and hold a pencil with the fingertips. If not, begin with the guide on pre-writing and fine motor skills.
- Sit at a table with feet supported, the paper straight or slightly turned, and the other hand holding it still.
- Use a pencil or a crayon that is short or chunky, and paper with clear handwriting lines.
Step 1: Get to know the handwriting lines
Handwriting paper usually has three lines: a top line, a dashed middle line and a bottom line where letters sit. Give them names the child can remember, such as "head, belt, feet" or "sky, fence, grass." Then trace a few lines and circles on them: a line from the top line down to the bottom line, a small circle between the middle line and the bottom line. This shows the child how much space a tall letter and a small letter take.
Step 2: Write capital letters
Capitals are a good start because they all sit between the top line and the bottom line. Begin with letters made only of straight lines, like L, T, E, F, H and I, then letters with slants, like A, V and X, and then letters with curves, like C, O, D and S. Teach two habits from the very first letter: start at the top, and pull the pencil down. Say the strokes as you write: "Big line down. Little line across." Trace the dotted letter first, then write it alone in the empty space.
Step 3: Write lowercase letters
Lowercase letters are harder because they come in three sizes. Small letters such as a, c, e, o and s fit between the middle line and the bottom line. Tall letters such as b, d, h, k and l reach up to the top line. Letters with tails, such as g, p and y, drop below the bottom line. Group them this way when you practice. Start with c, a, d, o and g, which all begin with the same curve, like the start of a c. Most of the words a child will read are written in lowercase, so spend more time here than on capitals.
Step 4: Write the numbers
Numbers are written like letters: start at the top and go down. Practice 0 to 9 a few at a time, and connect each number to an amount: write 3, then draw 3 dots next to it. Say the movement aloud as you write: "Across and down" for 7, "Down and around" for 5. Numbers that face the wrong way, such as a backward 3, are common at the start. Show the right way and practice it again; there is no need to make a fuss.
Step 5: Write their own name
A child's own name is the most meaningful word they will write. Write it with a capital letter first and the rest in lowercase, the way it will be written at school, not all in capitals. Trace it, then copy it under a model, then write it alone. Let the child sign their drawings and cards, and put their name on their things.
Step 6: Write words and sentences
When single letters come easily, join them into short words, then into a short sentence such as "I see a cat." Show three new habits: leave a finger space between words, start the sentence with a capital letter, and end it with a period. Read the sentence aloud together before writing it, so the child knows what they are writing. Tracing a sentence first, then writing it on an empty line underneath, makes the step smaller.
When it goes wrong
- Starts letters at the bottom. Put a small dot or a star at the starting point of each letter, and say "start at the top" every time.
- Mixes up b and d. Practice them on different days. Teach b as "a tall line down, then the bump" and d as "a c first, then the tall line."
- Letters float above the line or are all the same size. Trace the bottom line with a crayon so it stands out, and go back to the line names from step 1.
- Words run together. Lay a finger, a craft stick or a small sticker after each word as a spacer.
- Gets tired or upset. Write fewer letters, but write them well. Two good lines are better than a full page.
Practice without a worksheet
- Write letters big in the air, in sand, in shaving foam or with a finger on the child's back, and guess the letter.
- Write a shopping list together; the child writes one word.
- Sign birthday cards and drawings with their name.
- Make letters from playdough snakes, following the same strokes as on paper.
- Leave short notes for each other: "I love you." "Hi Mom."
When to move on
The child is ready for longer writing when they can:
- write most capital and lowercase letters starting at the top;
- place small, tall and tail letters on the handwriting lines;
- write the numbers 0 to 9 facing the right way;
- write their own name with a capital letter first, without a model;
- copy a short sentence with spaces between the words and a period at the end.
Free worksheets for each step
Each tool makes a new sheet whenever you press New sheet, and every sheet prints in color or black and white. For step 5, type the child's name into name tracing. For one letter at a time, try a letter of the day sheet such as letter A.
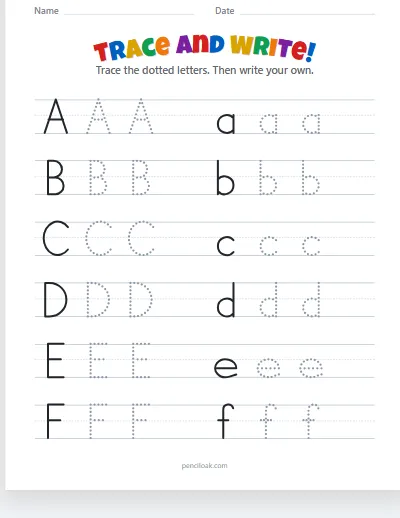
Step 2. Trace capital letters on handwriting lines. This sheet pairs them with lowercase; set Case to capitals for capitals only.
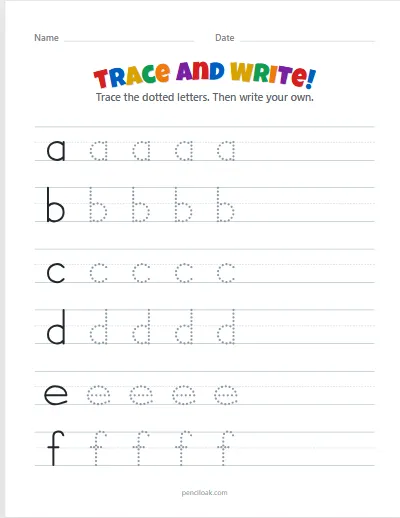
Step 3. Trace lowercase letters on handwriting lines, then write them alone.
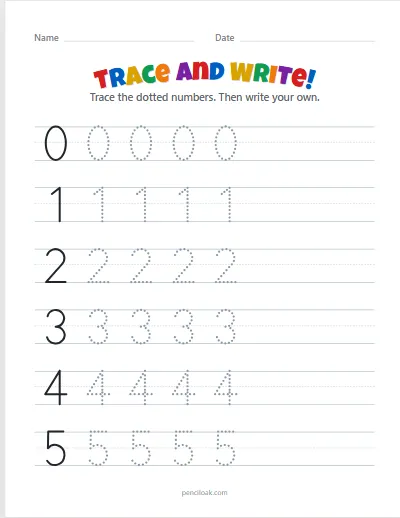
Step 4. Trace the numbers on handwriting lines, then write them alone.
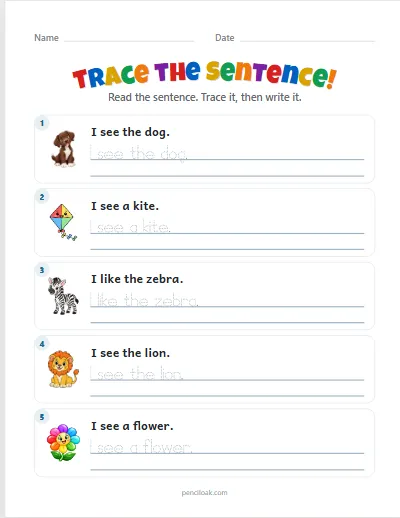
Step 6. Read a short sentence next to its picture, trace it, then write it.
Before letters, warm up with line tracing and shape tracing. You can also browse all worksheets.
Read next
- Pre-writing and cutting: fine motor skillsFrom playdough and tongs to lines, shapes, pencil grip and scissors — what to practice first, and what to do when a small hand tires.
- How to teach sight wordsThree to five words at a time: look, say, trace, find the word in print and read it in a sentence — and what to do when a child guesses from the first letter.
- Looking carefully: spot the difference, mazes and puzzlesShadow matching, spot the difference, mazes and cut-and-glue puzzles, with simple ways to help a child look instead of telling them the answer.