
Pre-writing and cutting: fine motor skills
Fine motor skills are the small movements of the hands and fingers, and writing, drawing and cutting all depend on them. A child who is asked to write letters before their hands are ready often gets tired, presses too hard or avoids the pencil altogether. The good news is that these skills grow with play and with a little regular practice. This guide puts the practice in order, from squeezing and pinching to tracing lines, shapes and letters, and finally to cutting with scissors.
Short sessions work best: five or ten minutes, a few times a week. Stop before the child is tired, and let them go back to a step whenever something new feels too hard.
This is a general routine, not an assessment. If a child's hand skills worry you, if they avoid drawing completely or complain of pain, talk to their teacher or doctor. They may suggest an occupational therapist.
Before you start
- Sit at a table with the child's feet supported, not dangling, and the paper held steady with the other hand.
- Use short, chunky crayons or pencils. Many teachers like them because a short tool is easier to hold with the fingertips.
- Make sure the light is good and the table is clear. Offer a break when the hand gets tired.
Step 1: Strengthen the hands through play
The hands need to be strong before they can be precise. Squeeze and roll playdough, tear paper into strips, pick up pom-poms with tongs or tweezers, pinch clothespins onto a card, thread large beads onto a string, peel stickers. All of this is practice for writing, and none of it needs a pencil.
Step 2: Draw lines
Writing begins with lines. Start big: draw long lines with chalk, paint, or a marker on a large sheet. On a worksheet, begin with straight lines left to right, the same direction as reading, and top to bottom. Then add zigzags, waves, bumps and loops. Children often find diagonal lines harder than straight ones, so give them extra time there. Lines that join a dot to a star are fun: the child has a goal and the pencil has a path.
Step 3: Trace and draw shapes
A circle and straight lines come first. Then a square, which is four straight lines that turn corners, and a triangle, which most children find the hardest because of its slanted sides. Let the child trace a dotted shape first, then draw it alone beside the dots. Say what the hand is doing as it moves: "Around and around," "Down, across, up, across."
Step 4: Hold the pencil
Many teachers suggest holding the pencil between the thumb and the first finger, resting on the middle finger. Show the grip once and let the child try. Do not force it: a grip that works for the child matters more than a perfect grip. A short pencil or a small piece of crayon can help a fist grip turn into a pinch.
Step 5: Learn to use scissors
Cutting needs two hands doing different jobs. The cutting hand holds the scissors with the thumb in the small hole and the first one or two fingers in the big hole, thumb pointing up. The other hand holds and turns the paper. Go in this order:
- Snip the edge of a thick paper strip, one snip at a time.
- Cut across a strip to make pieces.
- Cut along a straight line, then a zigzag or a wavy line.
- Cut a curve, like a scallop edge or a loop.
- Cut out simple shapes, then pictures.
Use child-safe scissors, sit down to cut, and stay close. Left-handed children may find left-handed scissors easier.
Step 6: Letters and names
After lines and shapes, letters feel less like a new problem, since most letters are lines and curves the child can already draw. Start with the letters in their own name, then move on to the alphabet. Trace first, then write beside the dotted letter, then write alone on handwriting lines.
When it goes wrong
- Squeezes the pencil very tight or presses hard. Go back to step 1. Playdough and tongs build the hand strength, and a break helps a tired hand relax.
- Gets tired quickly. Shorten the session and spread it over the day. Two minutes done well beats ten minutes of struggle.
- Cuts off the line. Make the line thicker with a marker, use a wider strip, and slow down. Cut slowly, and turn the paper with the other hand.
- Rubs out or scribbles instead of tracing. Use bigger shapes, a thicker pencil, and praise the effort rather than the neatness.
- Avoids the pencil. Offer chalk, paint or a finger in sand first, then try the pencil again for a minute.
Practice without a worksheet
- Roll playdough snakes, then flatten, cut and shape them.
- Thread cereal rings or large beads onto a string or pipe cleaner.
- Paint with water and a brush on a sunny wall or the pavement.
- Draw in sand or a tray of flour with a finger.
- Tear and glue paper into a collage.
When to move on
The child is ready for more writing when they can:
- draw straight, wavy and zigzag lines without lifting the pencil;
- trace and draw a circle and a square;
- hold a pencil with the fingertips, not a fist, most of the time;
- cut along a straight line and a wavy line with the scissors;
- write the letters in their own name, with help.
Free worksheets for each step
Each tool makes a new sheet whenever you press New sheet. Every sheet prints in color or black and white. You can also practice a child's own name with name tracing.
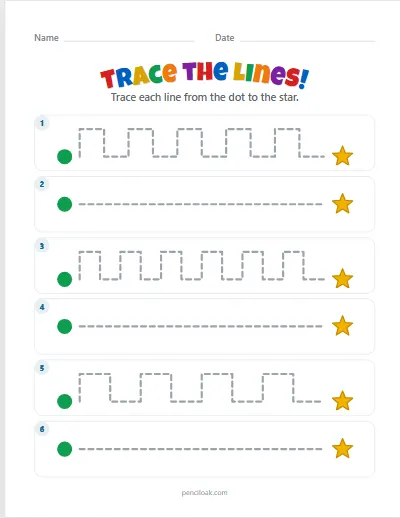
Step 2. Trace dotted lines from a dot to a star: straight, zigzag, waves, bumps, loops.
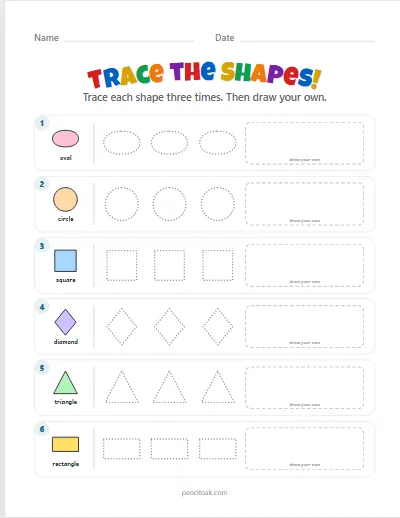
Step 3. Trace circles, squares, stars and hearts, then draw your own.
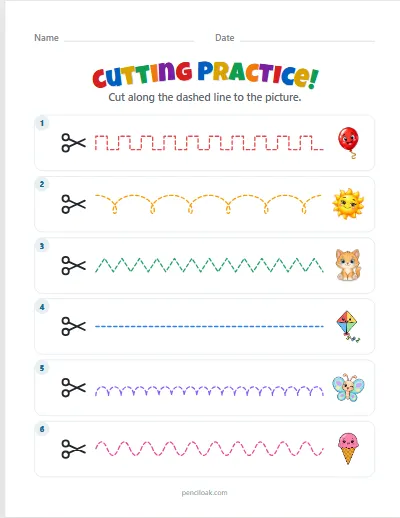
Step 5. Cut along straight, zigzag, wavy and curly dashed lines to a picture.
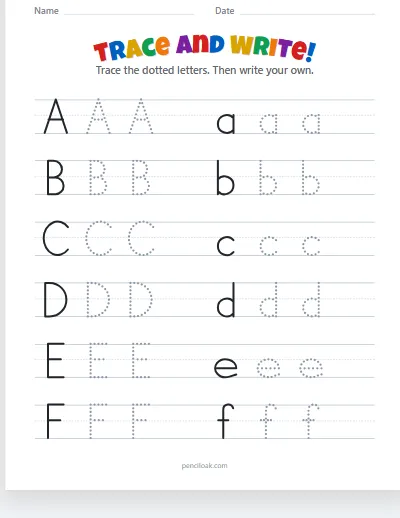
Step 6. Trace capital and lowercase letters on handwriting lines, then write them alone.
You can also read how to teach letters and first sounds or browse all worksheets.
Read next
- Looking carefully: spot the difference, mazes and puzzlesShadow matching, spot the difference, mazes and cut-and-glue puzzles, with simple ways to help a child look instead of telling them the answer.
- Patterns, sorting and logic puzzlesSort, find the odd one out, continue a pattern, color the other half and solve a first sudoku — and why "how do you know?" matters most.
- How to teach sight wordsThree to five words at a time: look, say, trace, find the word in print and read it in a sentence — and what to do when a child guesses from the first letter.