
Shapes and measuring
Shapes and measuring are the parts of math a child can hold in their hands. A plate is a circle, a block is a cube, one stick is longer than another, and a bag of apples pulls the arm down more than a bag of bread. Children notice all of this long before they have the words for it. This guide gives them the words, one step at a time: naming flat shapes, then solid shapes, cutting shapes into equal parts, comparing two things, and finally measuring with cubes and with a ruler.
The steps do not have to be learned in strict order, and shapes can sit alongside counting at any time. Keep each session to five or ten minutes, and spend most of it with real things rather than paper.
This is a general routine, not an assessment. If you are worried about how a child is learning, talk to their teacher.
Before you start
- Gather a few things to hold: blocks, a ball, a can, a box, paper plates, crayons, pencils of different lengths.
- For measuring, use cubes or blocks that are all the same size, and a ruler with clear inch marks.
- Use the same words every time: "circle, square, triangle"; "longer, shorter"; "heavier, lighter"; "how many cubes long?"
- It helps if the child can count to 10, because measuring is counting. The guide on teaching counting to 10 starts there.
Step 1: Name the flat shapes
Start with three shapes: circle, square and triangle. Go on a shape walk around the house or the classroom: the clock is a circle, the window is a square, a slice of pizza is a triangle. Then add the rectangle and, later, the hexagon. Talk about what makes each shape what it is. A triangle has three sides and three corners; a square has four sides that are all the same length; a rectangle has four sides too, but two are long and two are short.
Show shapes in many sizes, colors and positions. A triangle standing on its point is still a triangle, and a big red circle and a small blue circle are both circles. On a worksheet, ask the child to find and count one kind of shape among others, so they look at the shape, not the color.
Step 2: Meet the solid shapes
Solid shapes are the ones you can pick up. Begin with four: a cube (a block or a die), a sphere (a ball), a cylinder (a can) and a cone (an ice cream cone or a party hat). Later add a pyramid and a rectangular prism, which is the shape of most boxes. Let the child hold each one and ask simple questions: "Does it roll? Can you stack it? Which part is flat?" A ball rolls but does not stack; a block stacks but does not roll; a can does both, depending on which way you put it down.
When the child knows the real objects, move to pictures of them. A picture of a solid shape is harder than the shape itself, because the child has to imagine the sides they cannot see.
Step 3: Cut shapes into equal parts
Equal parts are the first step toward fractions, and they start with sharing. Cut a sandwich in half and ask whether both pieces are the same size. Fold a paper square so the two halves match exactly. Then try fourths: fold the square again, or cut a pizza into four. Use the words "half," "fourth" and later "third," and say how many equal parts make the whole: "Two halves make one sandwich."
Show that halves can look different. A square can be cut into two strips or into two triangles, and both are halves. It also helps to show a shape cut into two pieces that are not the same, and ask: "Is this a half? Why not?"
Step 4: Compare length, height and weight
Before measuring, children compare. Put two pencils side by side and ask which one is longer. Stand two towers of blocks next to each other and ask which one is taller. The most important rule is to line up the ends: the two things have to start at the same place, or the comparison is not fair.
For weight, let the child hold one thing in each hand: a book and a sock, an apple and a grape. Which one pulls your hand down? A simple balance, even a coat hanger with two cups hanging from it, shows that the heavier side goes down. Talk about how big things are not always heavy: a balloon is big and light.
Putting three or more things in order, from the smallest to the biggest, is the next step after comparing two.
Step 5: Measure with cubes
Measuring answers the question "how much longer?" with a number. Line up cubes along a toy, a book or a shoe, end to end, starting exactly at one end and stopping at the other, and count them: "The book is 7 cubes long." Show the two rules of measuring: no gaps between the cubes and no overlaps. Then measure the same thing with something else, like paper clips, and talk about why the number is different. The units are different sizes.
Step 6: Measure with a ruler
A ruler is a row of equal units that are already lined up and numbered. Show the child where the zero is, and that the thing to measure must start there, not at the end of the ruler and not at 1. Then read the number at the other end: "The pencil is 4 inches long." Start with things that end exactly on an inch mark. If you print a ruler worksheet, print it at 100% size so an inch on the paper is a real inch, and the child can check it with a real ruler.
When it goes wrong
- Calls every shape with four sides a square. Lay a square and a rectangle side by side and run a finger along the sides: "Are all four the same length?"
- Says a turned triangle is not a triangle. Turn a paper triangle slowly in your hands and count the sides and corners after each turn.
- Picks the longer pencil by the end that sticks out. Line up the starting ends first, then compare.
- Thinks the bigger thing is always heavier. Let them hold a balloon and a small stone, one in each hand.
- Leaves gaps between cubes or starts the ruler at 1. Measure together and say each rule aloud as you go: "Start at zero. No gaps."
Practice without a worksheet
- Go on a shape hunt: find three circles and three rectangles in the kitchen.
- Build with blocks and name the shapes you use: "Put the cylinder on the cube."
- Cut toast or a tortilla into halves and fourths at breakfast.
- Measure family members' feet in blocks, or the hallway in steps.
- Ask "Which is heavier?" while unpacking the shopping, then check by holding both.
When to move on
The child is ready for harder shapes and measuring when they can:
- name a circle, square, triangle and rectangle in any size or position;
- name a cube, sphere, cylinder and cone, and say which ones roll;
- tell whether a shape is cut into equal parts, and color one half;
- say which of two things is longer, taller or heavier, and explain how they know;
- measure a small thing with cubes or a ruler, starting at the right place.
Free worksheets for each step
Each tool makes a new sheet whenever you press New sheet. Every sheet has an answer key for the grown-up and prints in color or black and white. For more comparing, try heavier or lighter and small to big.
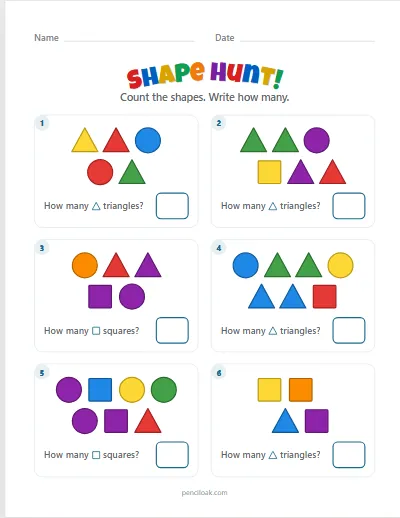
Step 1. Find the circles, squares or triangles among other shapes and count them.
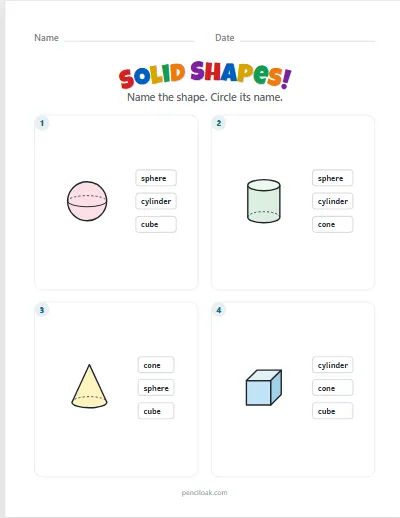
Step 2. Name the 3D shape and circle its name: cube, sphere, cone, cylinder.
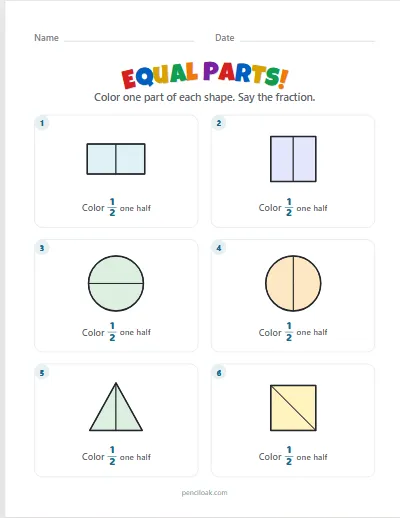
Step 3. Shapes cut into halves: color one part and say the fraction.
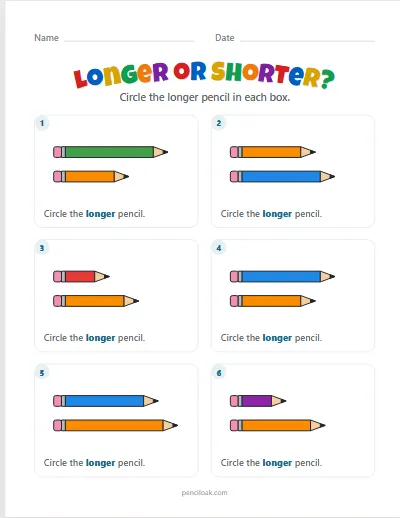
Step 4. Two pencils in every box: circle the longer one.
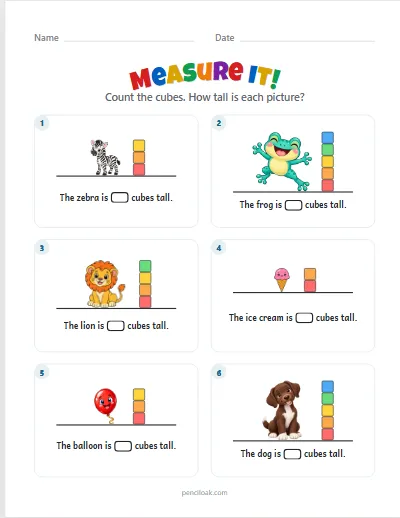
Step 5. Count the cubes next to each picture to find how tall it is.
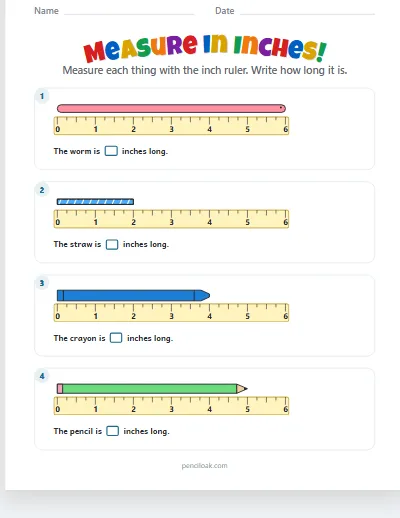
Step 6. Measure pencils, crayons and worms with a real-size inch ruler.
Shapes also come up in patterns and sorting. You can also browse all worksheets.
Read next
- Patterns, sorting and logic puzzlesSort, find the odd one out, continue a pattern, color the other half and solve a first sudoku — and why "how do you know?" matters most.
- How to teach counting to 10Say the numbers, touch each thing once, know the last number says how many — one small step at a time, with free printable practice.
- Addition and subtraction with picturesFrom real objects to pictures, the number line and dominoes: adding, taking away and, last of all, writing the sum.